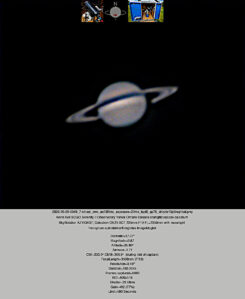

Saturn 20260629
A pre 04:00edt imaging session of Saturn this morning. The best image turned out to be the last before it got too bright at 08:49 UTC (04:49EDT). This is the…

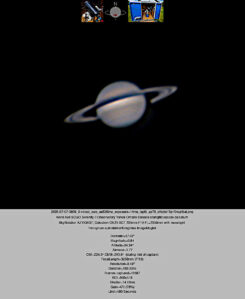
Saturn 20260707
An early imaging session of Saturn this morning. The best image turned out to be one of the first before it got too bright at 08:09 UTC (04:09EDT). This is…
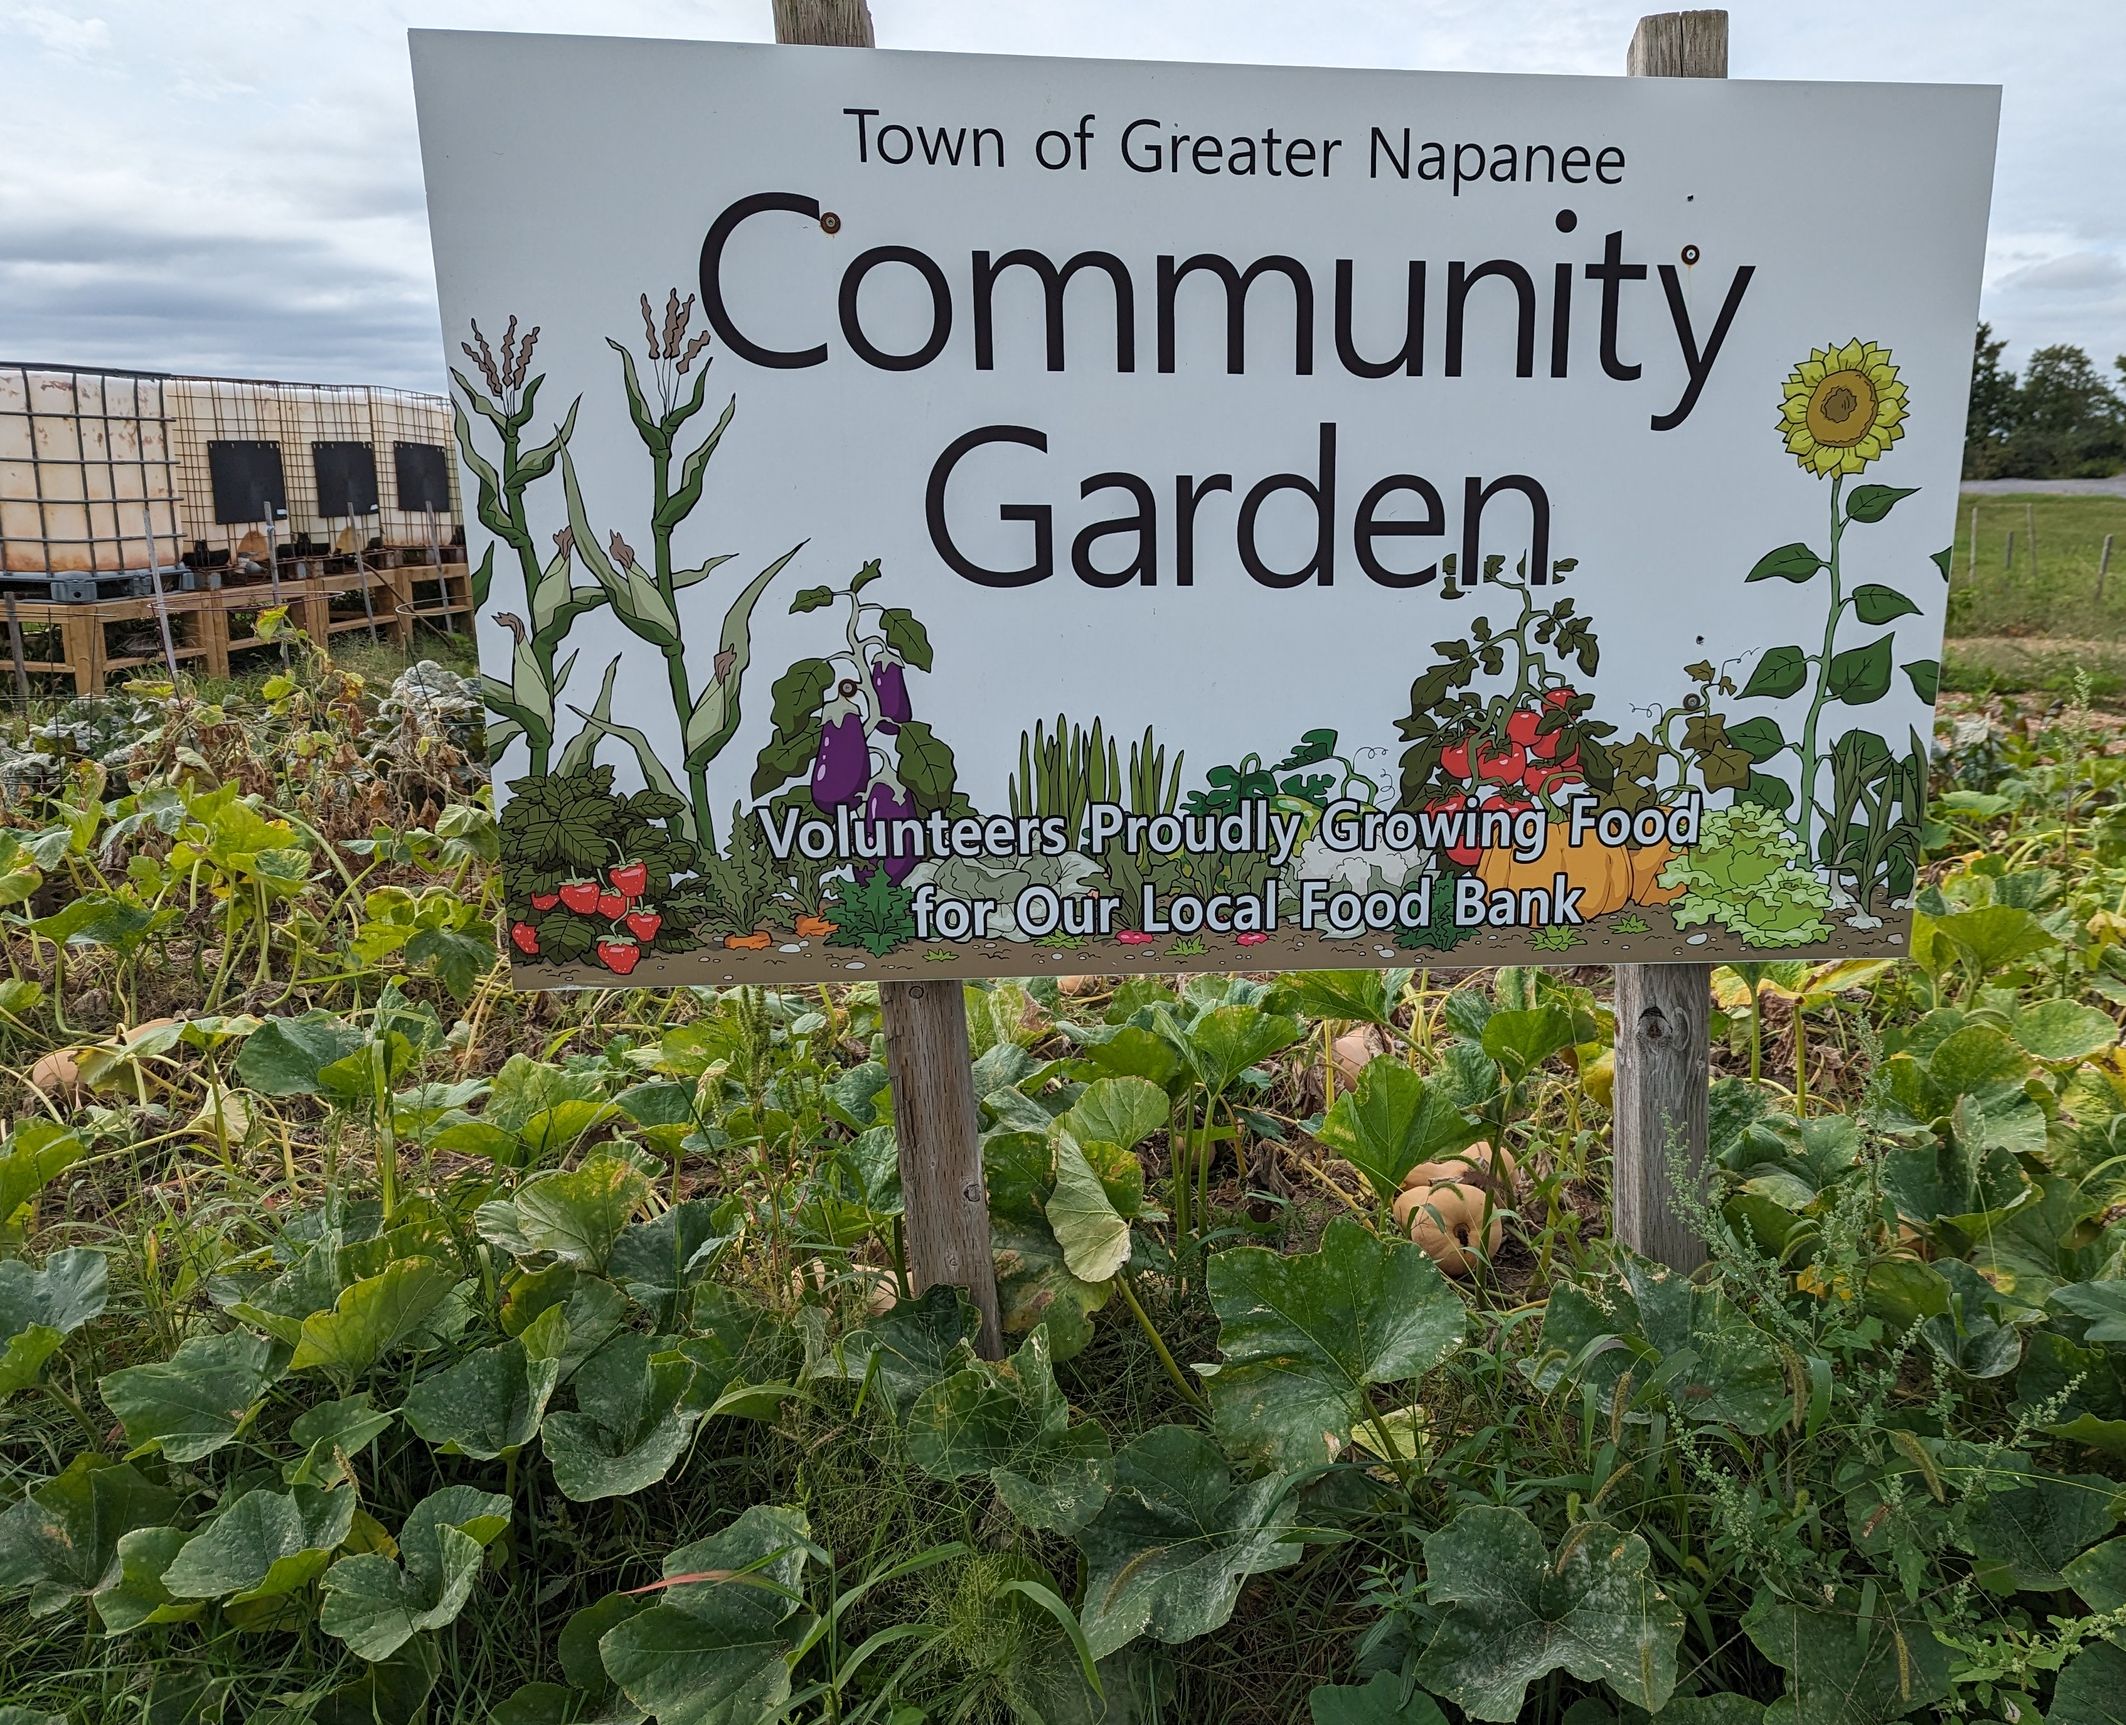
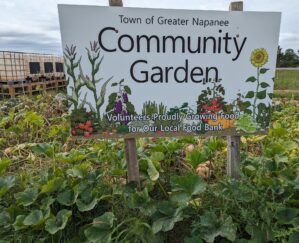
Napanee Community Food Bank Garden – 17 years!
At a recent Lennox and Addington Horticultural Society and Garden Club meeting (2026 June 17) it was noted that the club gave a donation to the ongoing efforts of a…
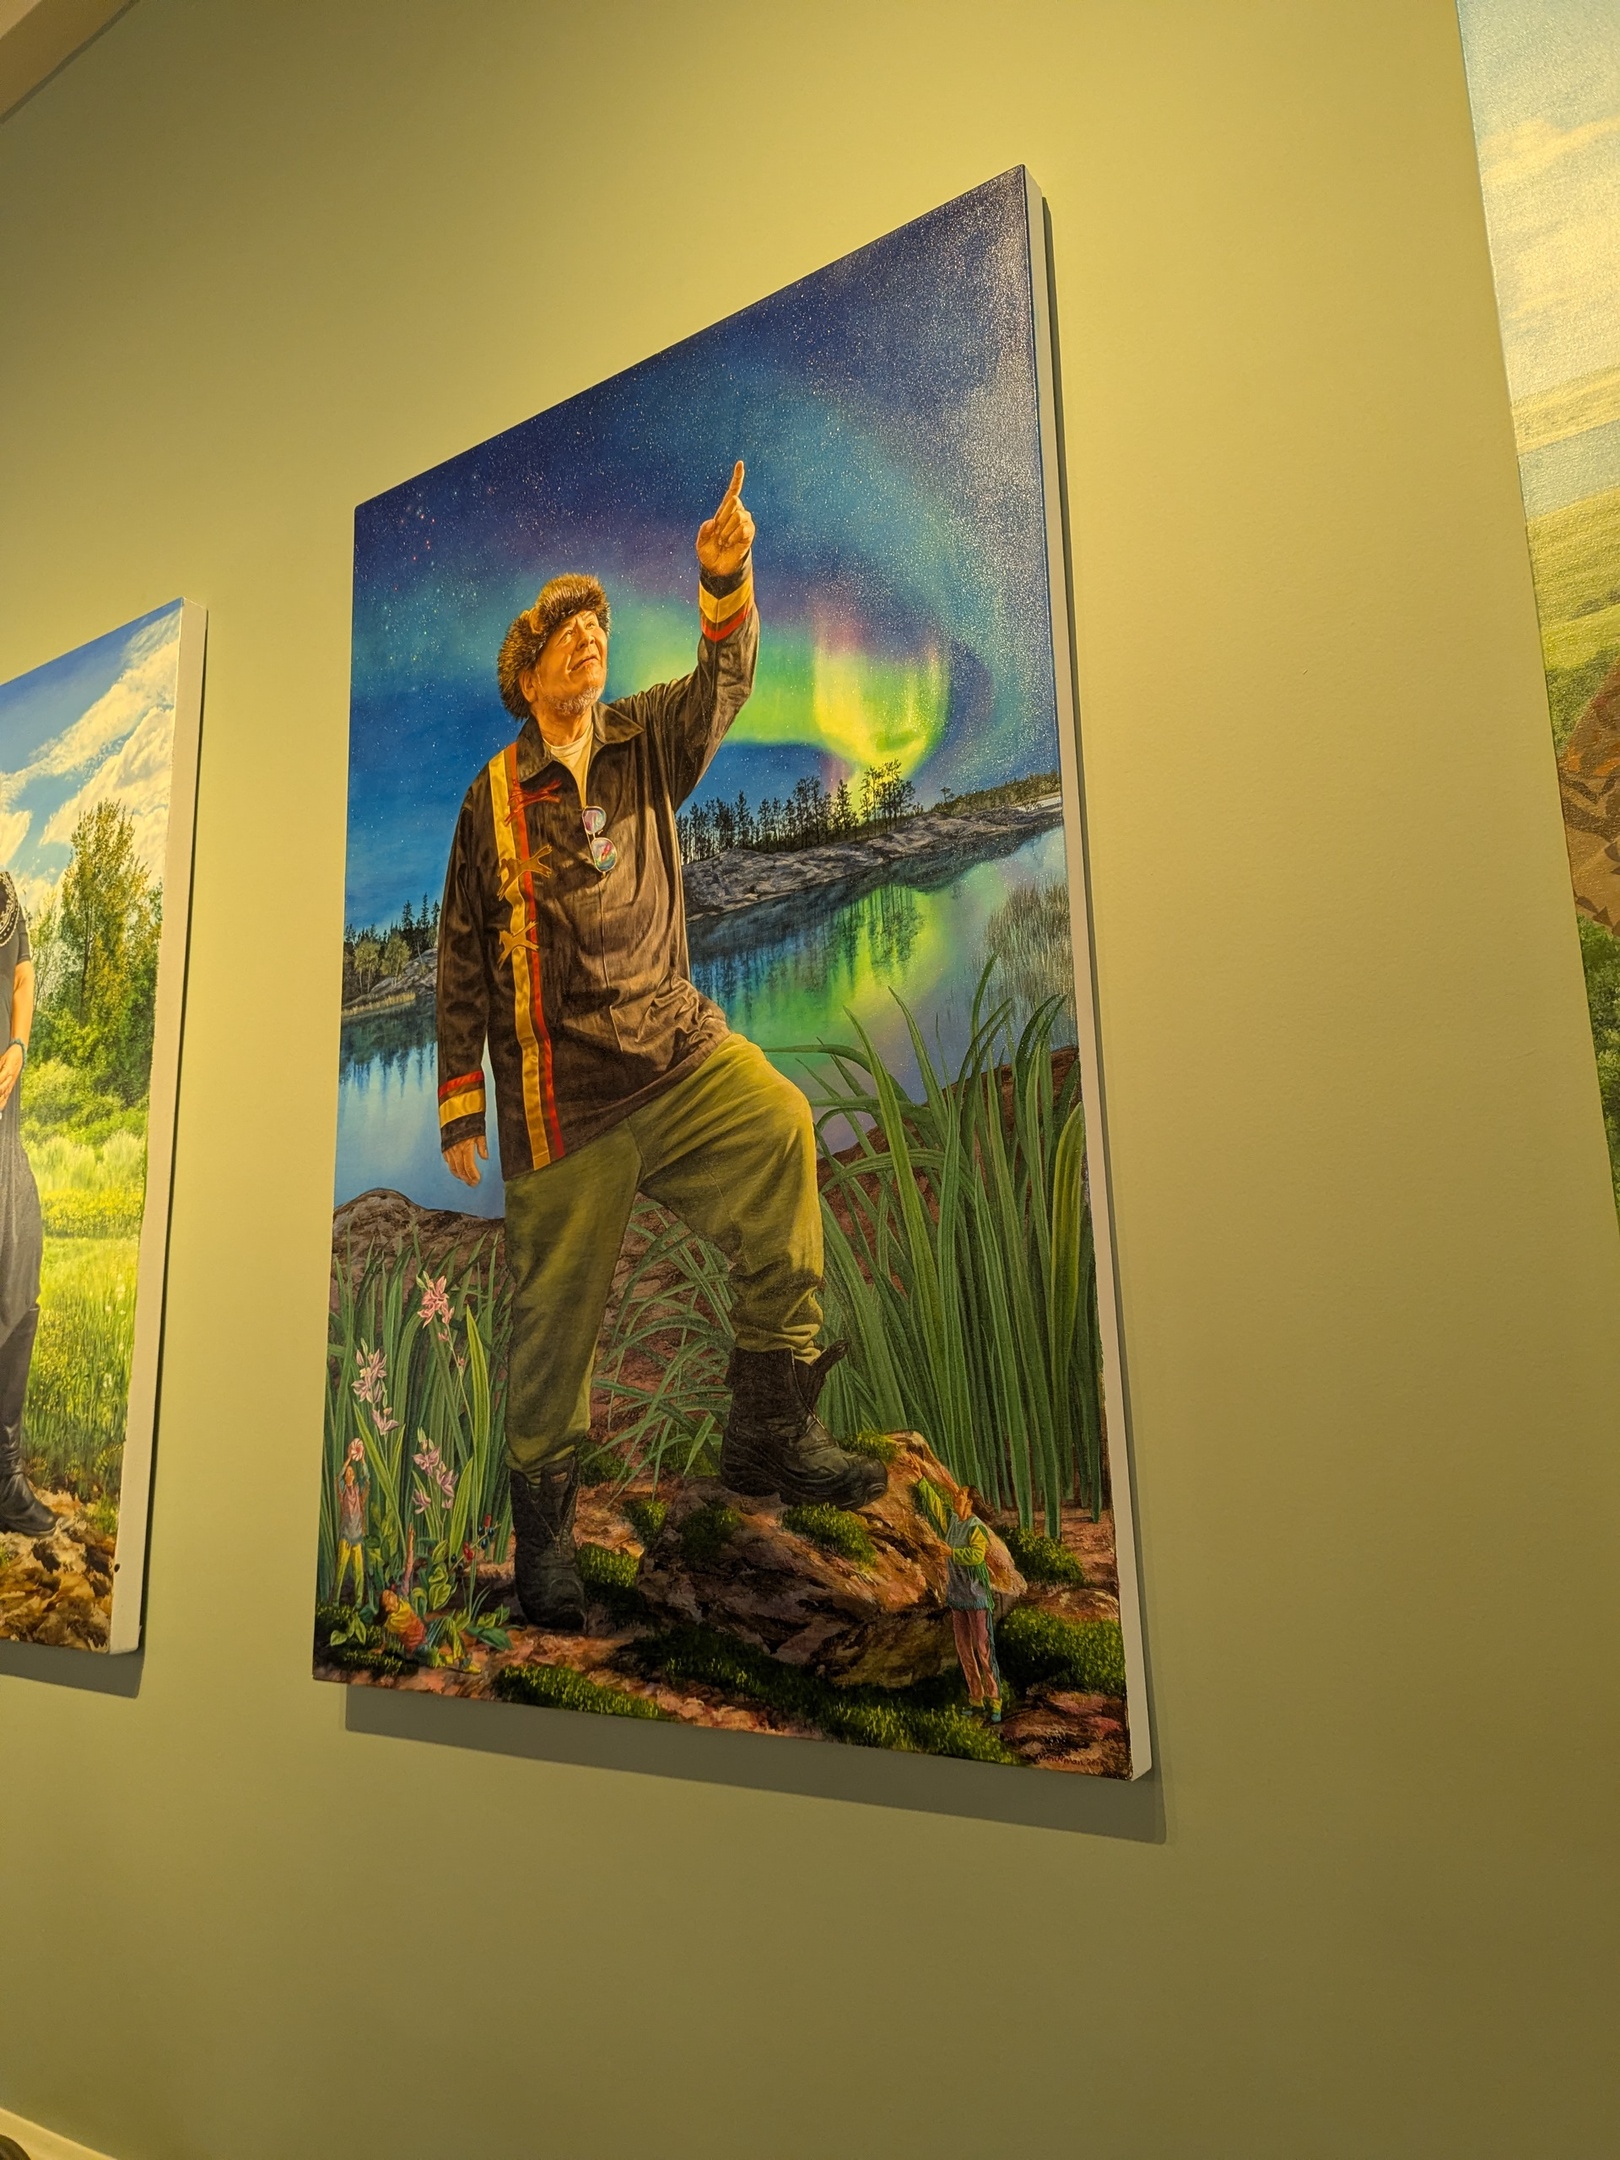
Wilfred Buck
From an article I wrote back in 2024: –cut here– We drove out to the Summer Saskatchewan Star Party in 2006. We arrived on site and had one of the…
VegBed1 reno
VegBed#1, first built in 2002, has been moved a couple of ties and rebuilt with garden ties, with the thought that they would last longer. They did not. We also…
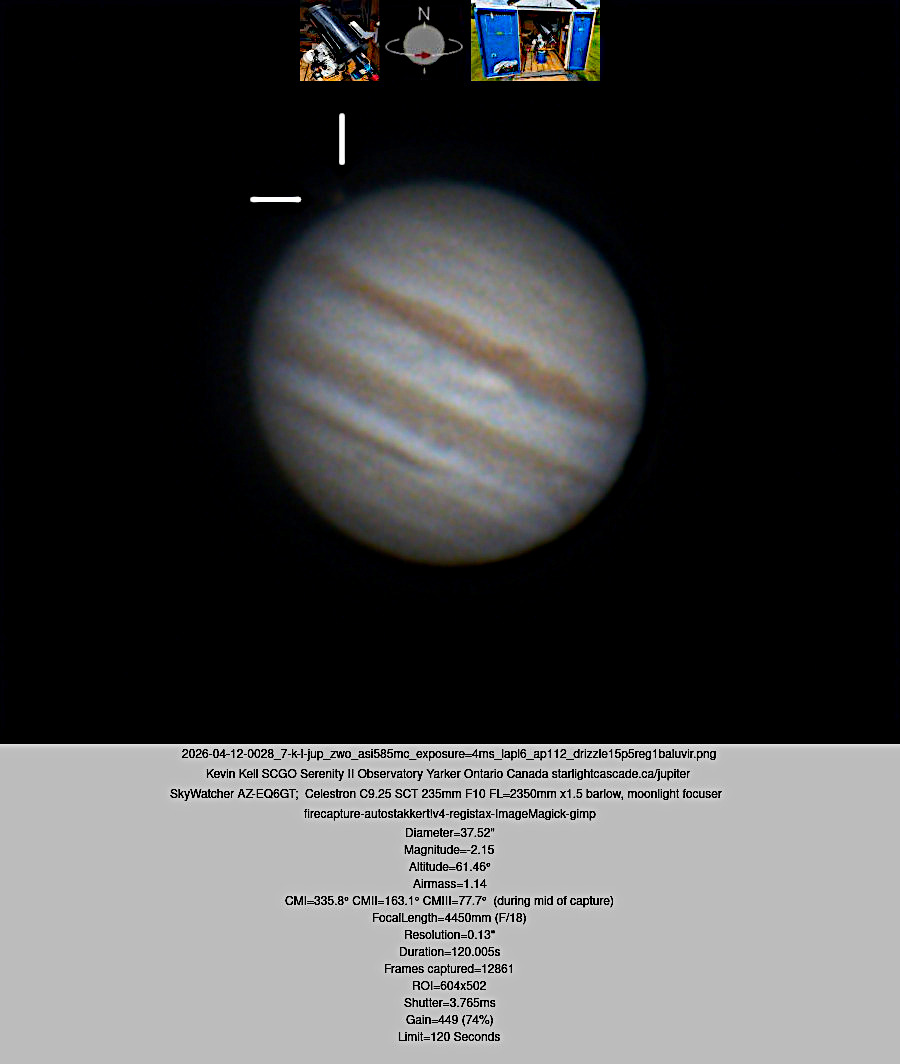
Jupiter 20260411
Saturday evening was my 12th imaging session of the year… and cold enough that my sinuses were not happy this morning! Last night was a special event.. the moon Callisto…
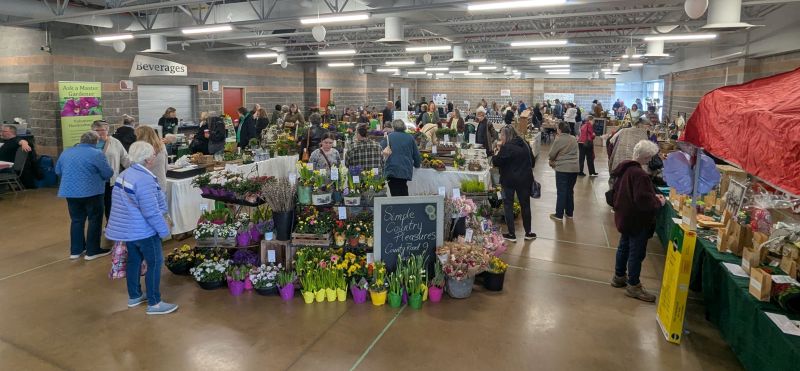
20260411 Napanee Garden Expo
A fun filled day with local gardening experts and vendors. Showcasing Greater Napanees’ talented residents in all things horticulture related. Best and Bash Arena 16 McPherson DriveNapanee, ON Four area…
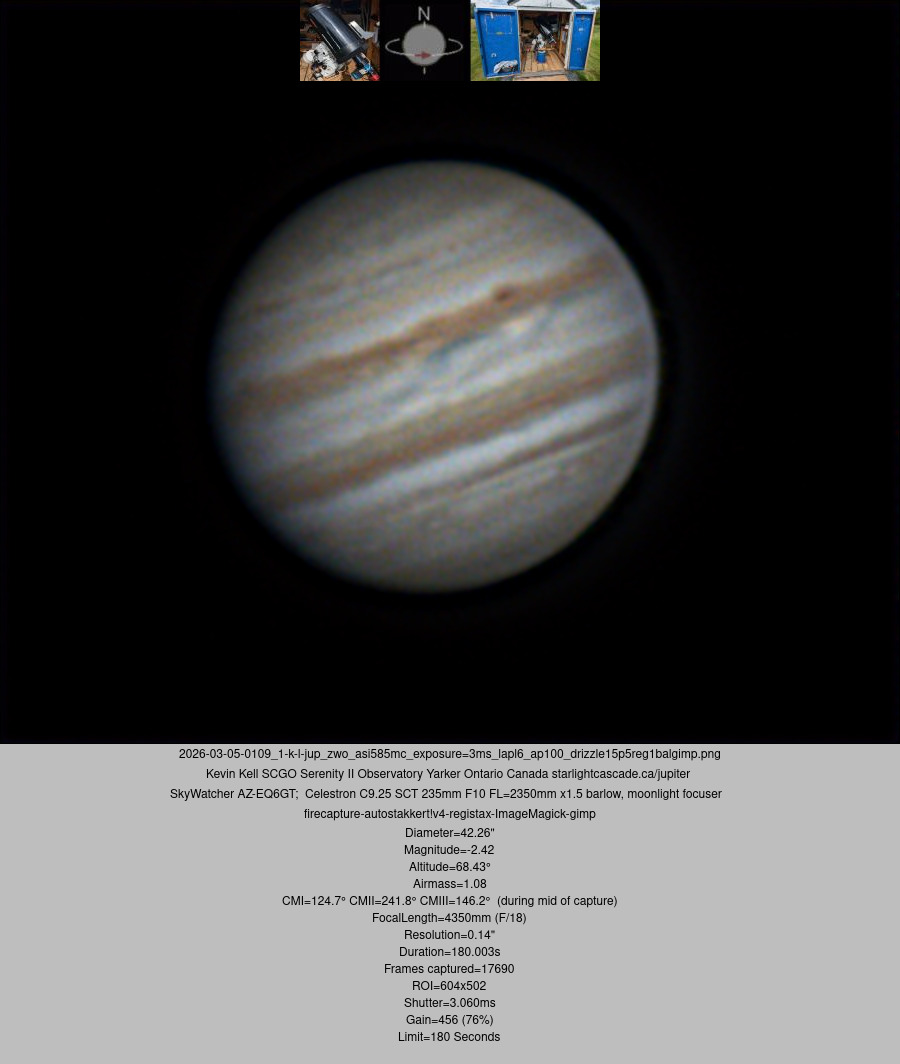
Jupiter 20260407
A nice clear sky greeted us Tuesday evening after a dumping of white cold feathers the previous 24 hours. Seeing was a little better than average (6/10) but then went…
Jupiter 20260404
Last night was a good example of the downside of rolloff observatories. Yes it was clear but it was also very windy and gusty and the Telescope was vibrating like…

Napanee Community Food Bank Garden 2025
Napanee Community Food Bank Garden 2025 2025 Note: The Data Process: Raw harvest data is transcribed from the logbook onsite into an excel spreadsheet. Quantities are converted from all kinds…
Jupiter 20250304
If you can believe it, this is the first Jupiter imaging session since January 9th.. Better yet, Jupiter was near its highest altitude, so less air to look through, than…
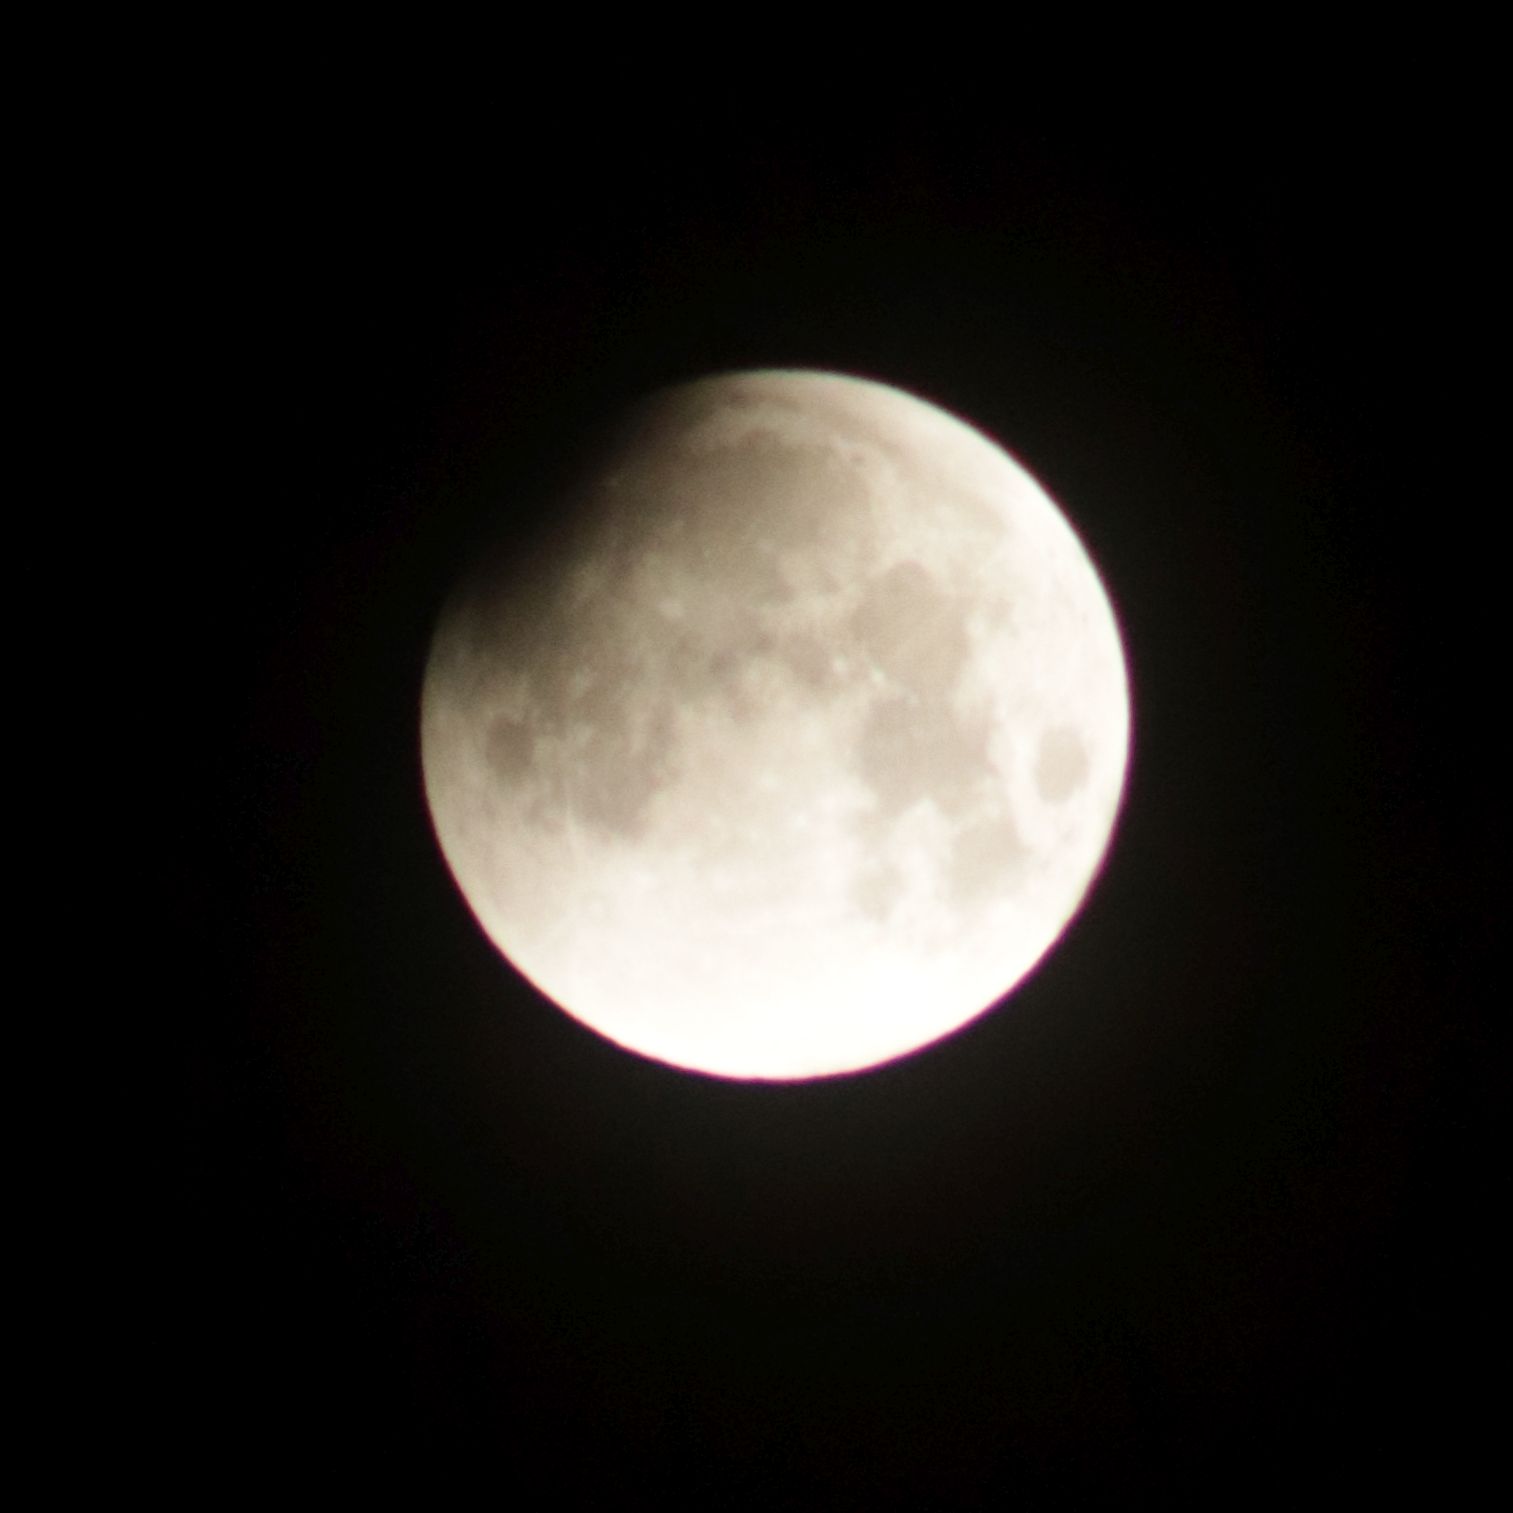
Total Lunar Eclipse 20260303
Up at 04:30 EST this morning , bundling up in the -18.2C temperature, to image as much of the total lunar eclipse that we could. We used a Canon DSLR…
New wordpress theme
Finally had time to start testing alternative wordpress themes and have found one that is much better than the last. Will try this one out and do a little customizing.
Searching for a new theme
We finally got around to updating the php version… and that broke the wordpress theme that we have had for over a decade. So now the search begins for a…