
Aurora 20260120
Aurora last night… with a KP index reaching 8? We went out in the evening to take some DSLR image and they were ok. Nothing spectacular… we have had better.…
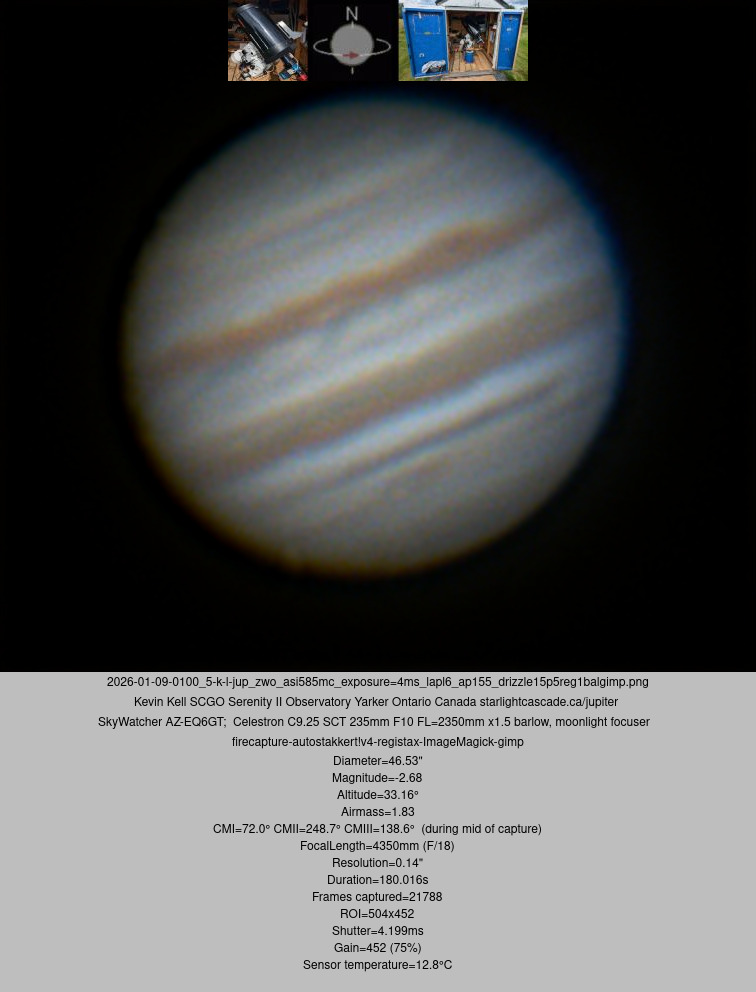
Jupiter 2026Jan08
And finally.. after 44 days of cloudy skies and or frigid temperatures, the skies cleared on 2026 January 8th and this was the first imaging session from the Serenity Observatory…
Weather Station mini UPS
We have a Hardware AcuRite 06004 weather station installed on 2019 November 27th. There is space for batteries in the back but they never kept it going during power outages..…
Welcome to 2026
Another trip around the Sun, another round of creating expectations and benchmarks for the remainder of the next orbit. 2025 – I did not meet my goal of 50 imaging…
Interesting event
An interesting event was caught last night on the allsky1 camera system. This is one still of 16. The interesting bit is the large cloud near the centre of the…

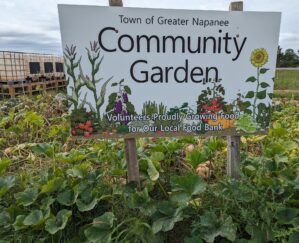
Napanee Community Garden 2025
This was the 16th year (2010-2025) of the Napanee Community Garden for the Local Food Bank. This is a small group of volunteers who plan, prepare, plant, weed, water, and…
Aurora 20251112
A really great Aurora last evening/this morning… too bad most of it was behind the cloud. Nonetheless, there were some great colours starting around 01:00 utc (20:00 EST) until around…
Ariane6 20251104
Our allsky1 camera system captured 15 images of the rocket dumping fuel last night. Because the exposures were on the order of 20 seconds, the spiral shape did not show…
Linux Fedora 42 to 43 upgrade
Discovered in passing that Linux Fedora 43 had been release two days ago… so.. another upgrade to run. It went flawlessly, smoothly and fast! Less than 45 minutes! linux fedora…
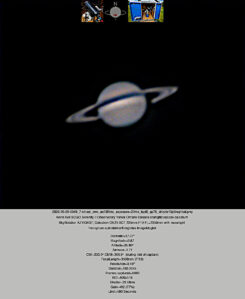
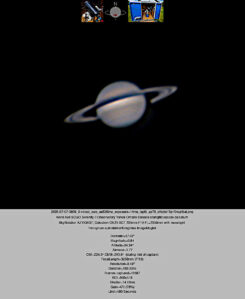
Saturn 20251029
Imaging Jupiter in the morning, imaging Saturn in the evening… it’s been awhile since I’ve been out after dusk and before dawn. Saturn started low (about 34 degrees altitude) and…
Jupiter 20251029
And another “winter is coming” cold morning… a whole -1C !! 15 runs from 0918-1016 UTC of Jupiter.. no great red spot seeing: poor (image was bouncing around a lot)…
Jupiter 20251026
A big reminder that 04:00 is much better than 05:00 because the cloud rolled in at 05:00 edt this morning. Ick! This was the best of 19 imaging runs, using…
woohoo Comet C/2025 A6 Lemmon
We hit the back yard last night at 19:00edt and spent the next hour imaging and observing Comet C/2025 A6 Lemmon, Comet C/2025 R2 Swan and I think she got…
Jupiter 20251019
Last nights forecast for this morning showed me 100% high cloud. High cloud is sometimes totally transparent, sometimes totally opaque At 05:00 edt this morning it was a mixture of…